Touchscreen Overview
Touchscreen Overview
Screen Saver & Background Logo
The screen saver logo can be modified at your discretion. It's a maximum of 380x380 px.
For the background logo, we suggest a rectangular logo with a size of 100x380 px.
Step 1: Language selection
Netspot kiosk language can be configured and offer multiple language selection:
Arabic, Dutch, English, Finnish, French, German, Russian and Spanish.
The language that you decide to use will be shown on the kiosk screen has a button. If you decide to have only 1 language, that step won't be applied for you.
Press on the language you want to use for the transaction process.
Step 2: Check out or Check in
Check out option allows you to rent a device.
Check in option is guided way to return a device.
A return can be done this way or can be put back in the kiosk slot at any moment without using the button.
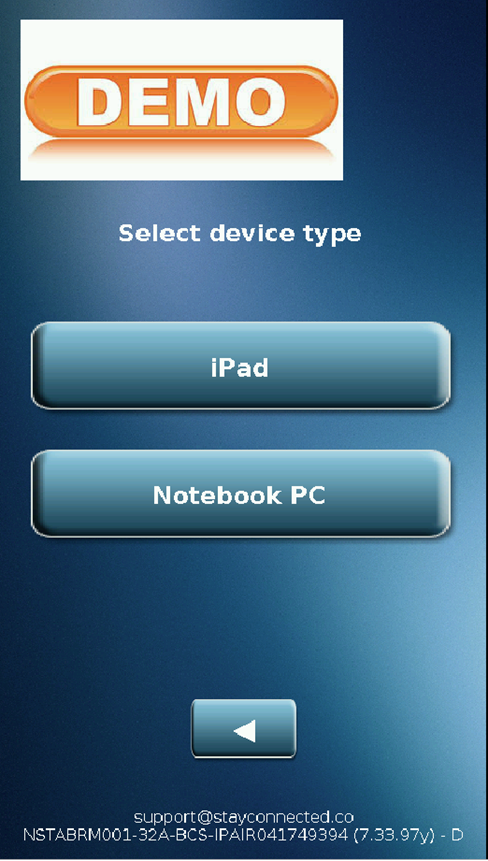
Step 3: Choose device type
Device selection only applies if you have more then 1 device type. If you only use 1 device type, this screen won't be there in your case.
Step 4: Terms and conditions (optional)
Step 5: Scanning your card
Step 6: Enter PIN Number
Step 7: Transaction process
Transaction approved
Transaction declined
Step 8: Return Process
Step 9: Survey report (optional)
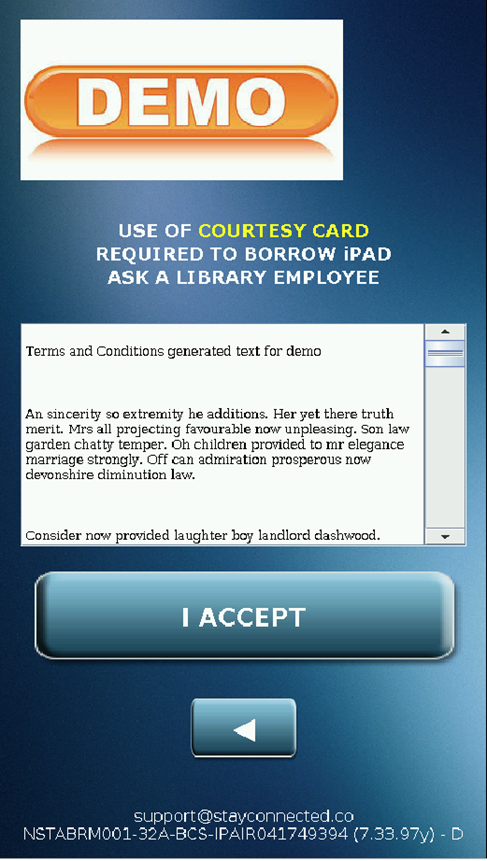
Step 4: Terms and conditions (optional)
If you wish to have terms and conditions, you have to put it in the integration document or ask for it afterwards at support@stayconnected.co
Users will need to accept the terms before reaching the next step.
Step 5: Scanning your card
Users will need to scan his card under the kiosk reader.
Depending on your card type and reader type, the message and the image on the screen might change.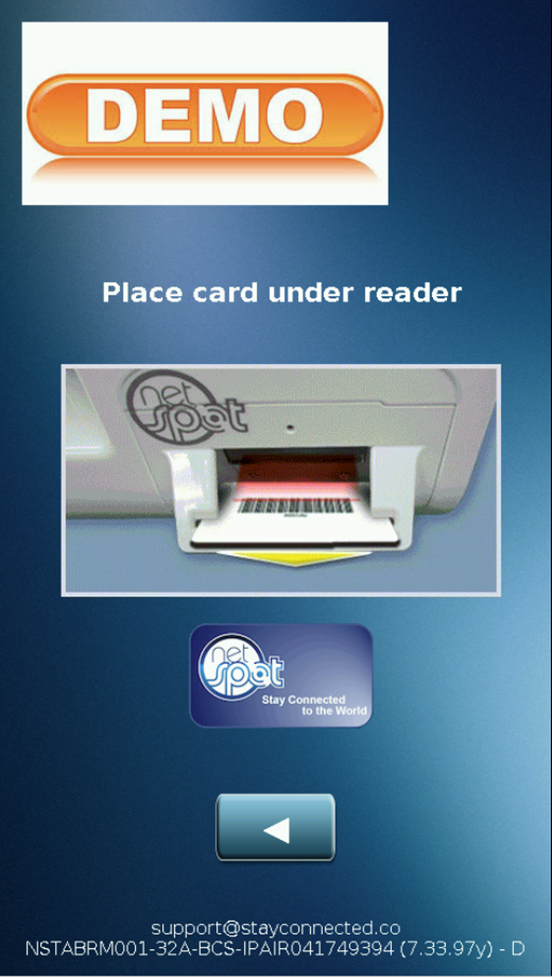
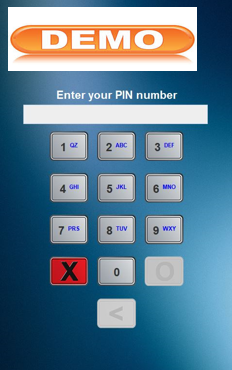
Step 6: Enter PIN Number
Users will need to enter their PIN number. The default keypad on the screen is only with a number from 0 to 9. If you wish to have a keypad with numbers and letters, you have to request it and stay connected will take care of applying the change to your kiosks.
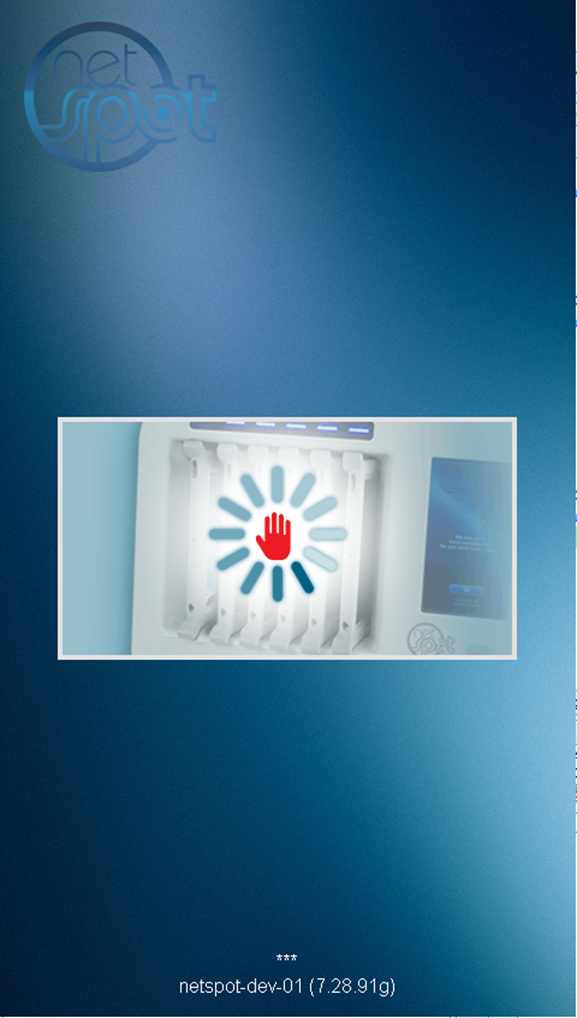
Step 7: Transaction process
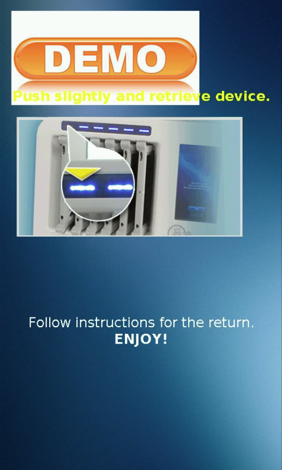
Transaction approved
If the transaction is approved, a device will be released and the LED above the device will be flashing. If you take too long to retrieve the device, it will lock itself and cancel then transaction.
Transaction declined
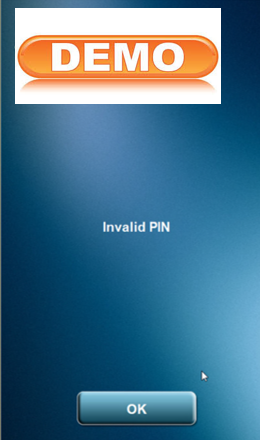
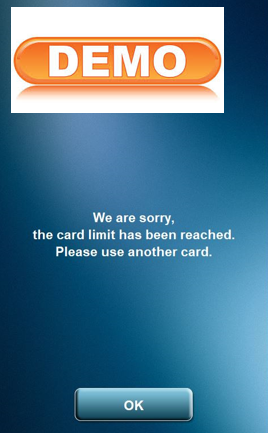
If the transaction is refused by the transaction processor, the kiosk screen will show you what's the message received from the transaction system.
- Invalid PIN
- Card limit reached
- Age restriction
- Fees under the user account
Step 8: Return Process
Like mentioned above, there are 2 ways to return a device. You either use the check-in buttons or slide your the device back in any open slot without any intervention on the screen.
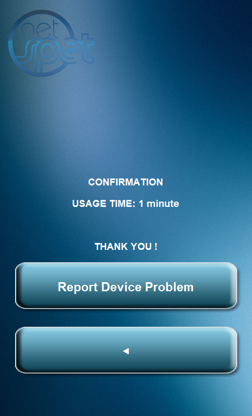
With both ways, you will see the return process on the screen and then see a confirmation screen that gives you your usage time.
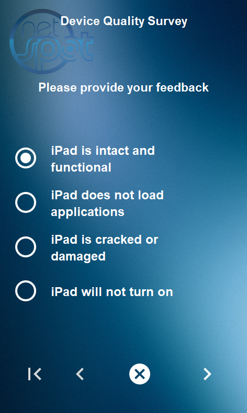
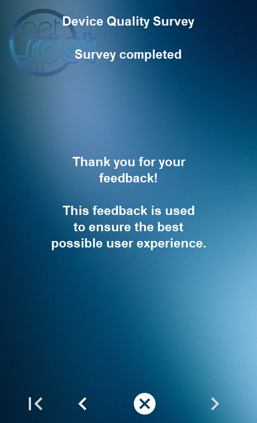
Step 9: Survey report (optional)
The survey option is not there by default. It needs to be requested to stay connected team. It allows you to have a user report if there's any problem with the device when they return it.
They will have a button to report device problems. When they use it, they are asked to answer the survey and depending on what they answered, it can set a device unavailable until an admin checks it.
Related Articles
Dashboard Overview
If you wish to have access to our dashboard platform, please send us an email at support@stayconnected.co and we will create you an access. Activate your Netspot Dashboard account After requesting your dashboard access to one of Stay Connected agent, ...Dashboard Reports Overview
Report Section To access the reporting section, move the cursor over the reporting tab and click on the desired type of report you want to produce. It is possible to export some types of reports to various file formats. Transactions Transaction ...